- q1. Sign In
- s2. Select a Product
- W3. Add Images
- o4. Create Products
- %5. Check Out
-
Step 1: Log In
In order to access our ROES software, you will first have to have a TPT-Pro account.
After you Download and Launch ROES, you’ll need to sign in using your TPT-Pro account along the right hand side of the ROES screen.
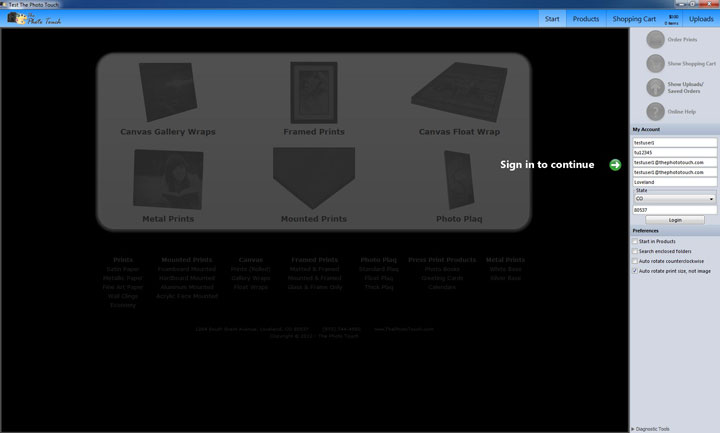
Please see our Technical FAQ’s if you are having trouble installing or launching the ROES client.
-
Step 2: Select a Product
It is important before jumping right into the ROES system to understand how the products are laid out. Products are separated into catalogs, and it is only possible to place an order out of a single catalog at a time (More on shipping and order consolidation). These catalogs are laid out on the Home page, reachable at any point during the ordering process through use of the “Start” button at the top right. (More on ROES catalogs)
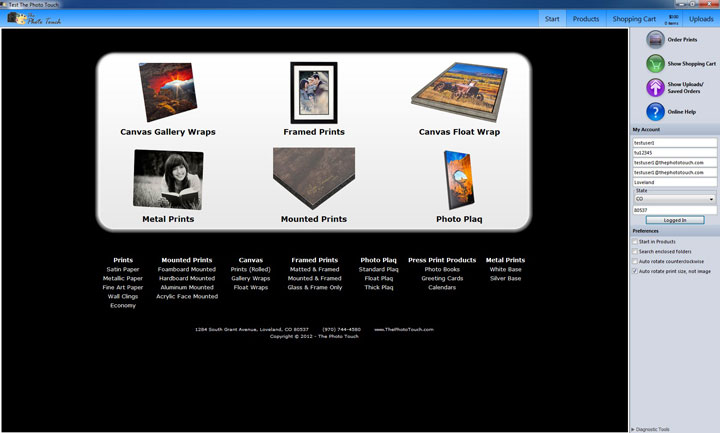
To get started, simply click the Products tab at the top right corner to browse through the Info pages, or click on one of the links on the Start page to go directly to that product.
In addition, you can change catalogs at any point during the ordering process by clicking on the Catalogs tab at the lower left hand corner of the ROES window and selecting a new catalog (Please note that any order not yet completed will be lost upon performing this action).
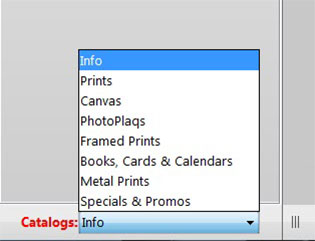
In addition, you can use the “Info” catalog item to see more information about various products, product options, and for general browsing purposes. Click on the orange arrow to select a product.
Once you are inside a catalog, you can see the products in that catalog along the left hand side of the screen. To choose one, simply click on it.
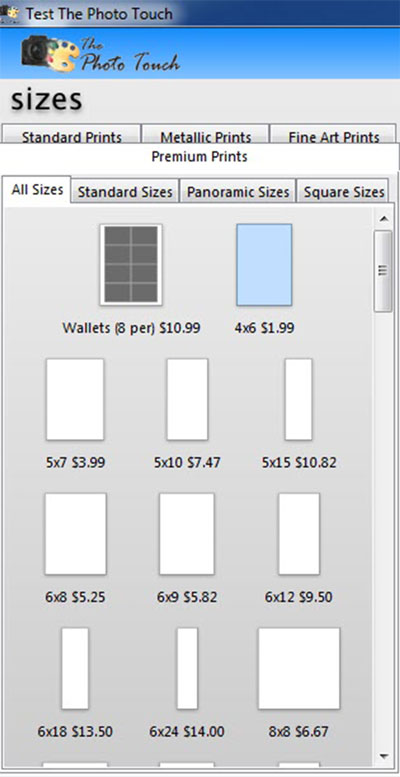
There may be several different tabs of products within a catalog, so make sure you pay attention to this area along the left portion of the ROES screen.
-
Step 3: Add Images
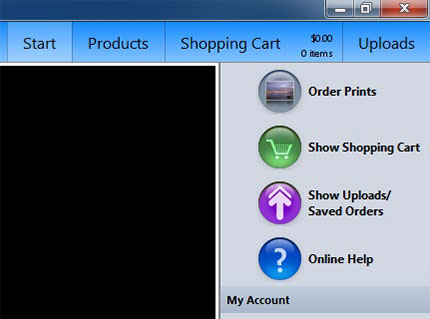
After selecting a product, you will need to add images. Along the right hand side of your screen is the images pane.
Note: Images are added to ROES by folder, so you will need to collect your images into a folder.
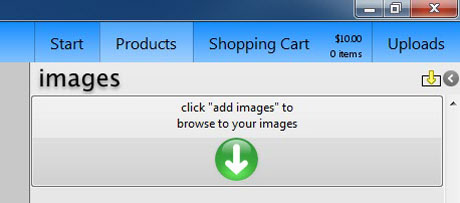
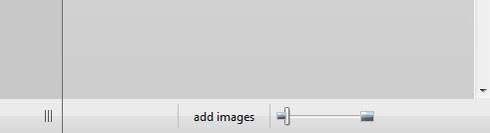
There are buttons at the top and bottom of the image pane for adding images
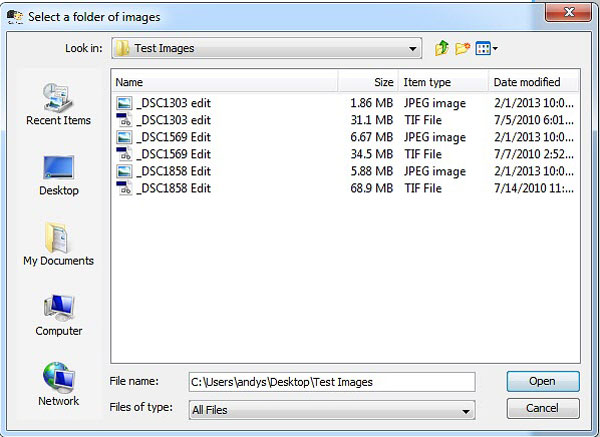
Select the folder(s) you wish to use, and click Open.
-
Step 4: Create Products
Now that you have selected a product and added images, you can drag the desired image from the images pane on the right to the selected product in the center.

Your image will automatically be cropped to the size of the selected product. At the bottom of the product in the center is a bar to adjust the Zoom, Rotation, and Crop Options.
If you do not want your image cropped, the button at the left side of this bar will add white space around it to fill in the product size.

At the lower left of your screen, under the product sizes, are the product options.
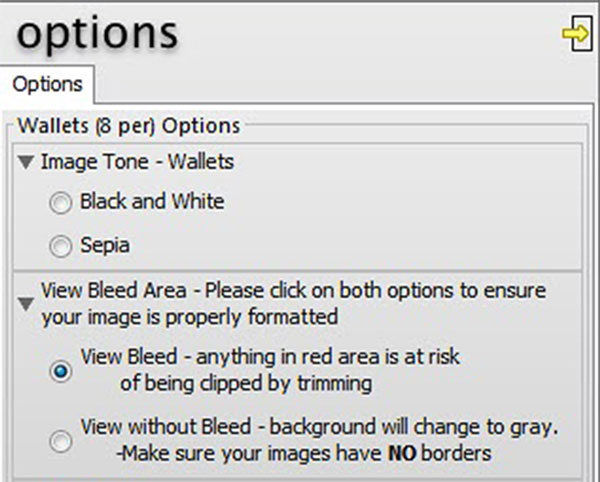
Look through the options pertaining to your product and once you are done you are ready to add the item to the cart.
-
Step 5: Check Out
After adding images to your product and selecting any relevant options, you are now ready to add it to the shopping cart. At the bottom middle of your screen just below the image of your product, you will find a Quantity box and an Add to Cart button.
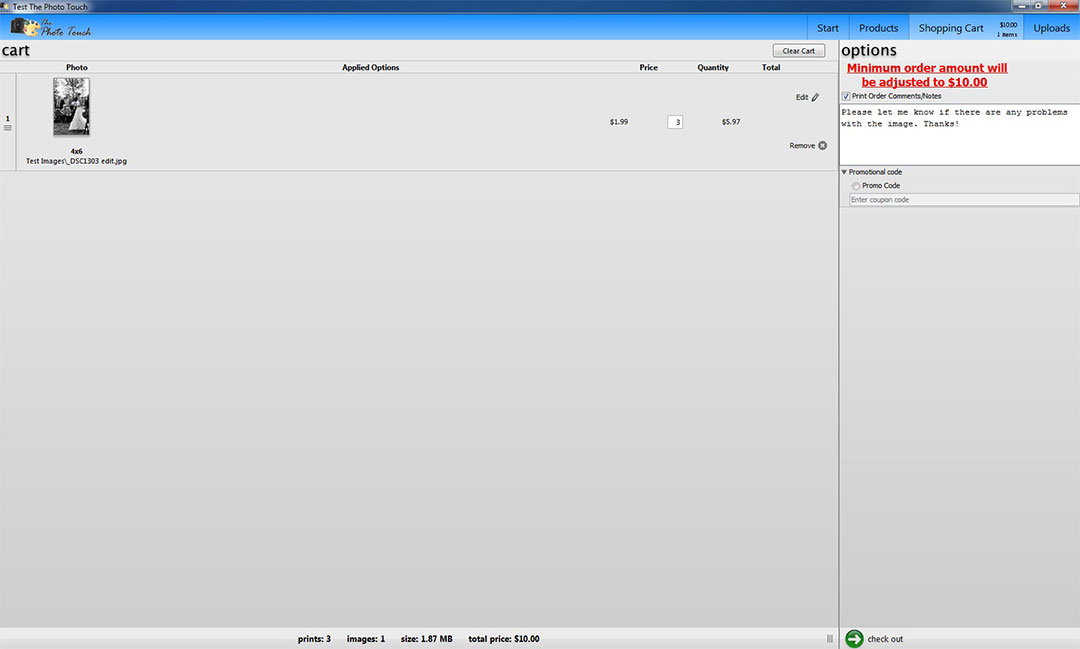
After adding your product to the cart, you are free to browse and add other products as well. When you are ready to check out, click on the Shopping Cart tab just right of the products tab at the top right of your screen.
You should review your order before checkout, and if you have any special comments you should add them to the box to the right of the list of products. In addition, you can enter any promotional codes you may have received in the Promo Code box. Note: an invalid code will flash red, where as a valid one will flash green.
When you are satisfied with your order, you can proceed through the checkout process by pressing the Check Out button at the bottom right corner of your ROES screen. At this point, you will need to have ready your payment information, contact information, and will be allowed to choose from several shipping options for your order. You may then submit the order to us using the Place Order button at the bottom middle of your screen. (More on shipping and turnaround.)
Our Brands