Click Here for Windows, Click Here for Mac.
In this tutorial, we will cover how to make a .zip file with multiple files inside it.
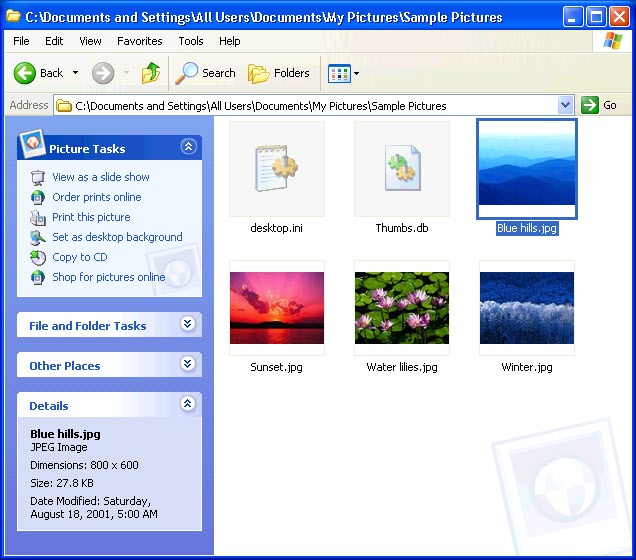
1. Navigate to the folder location of the desired files you would like to add to a zip file.
2. Click on the first file you would like to add.
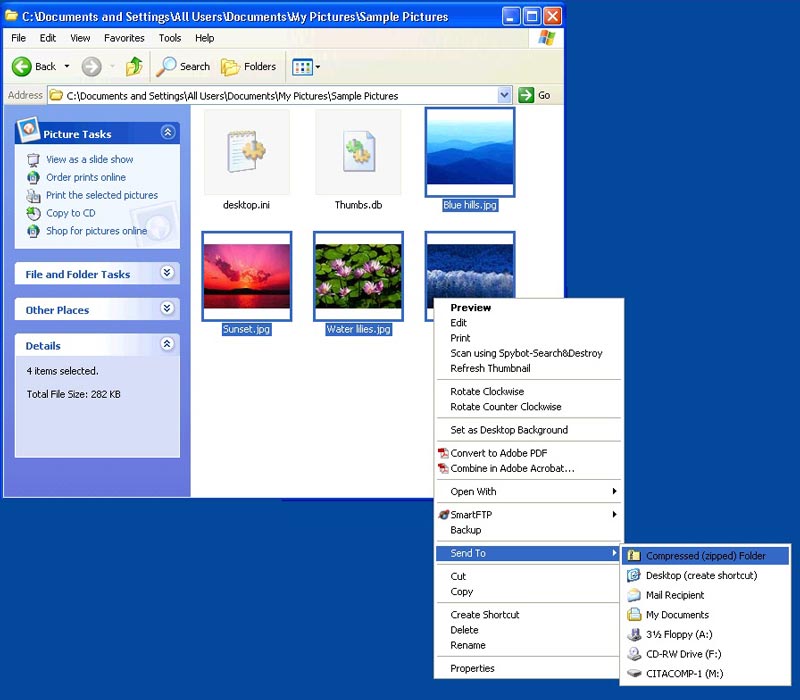
3. If you would like to add files that are in order in rows, hold the shift key and click on the last file (shown in image below). To add files that are not in order, hold the ctrl key and click on each file you would like to add.

4. Without clicking anywhere else, right click on one of the files you have selected and select “send to” then click on “Compressed (zipped) Folder”. A zip file will be added inside your current folder with the name of the file you right clicked on.
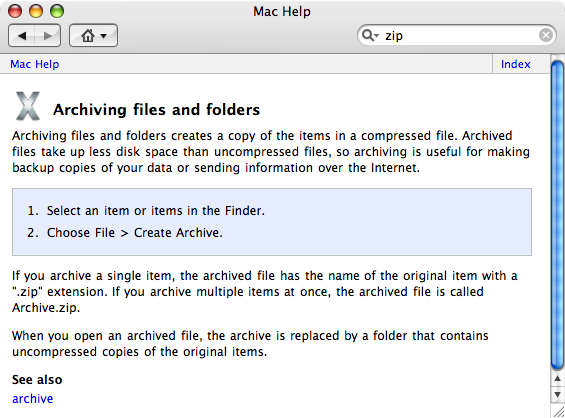
Directions for creating a .zip can be referenced at any time by searching for “zip” under Mac Help. Relevant info will be found under Archiving or Compressing files and folders. The terms “Archive” and “Compress” are used interchangeably here, and will differ depending on the version of Mac OS that you are running.
1. Using Finder, navigate to the folder location of the desired files you would like to add to a .zip file.
2. Click on the first file you would like to add.
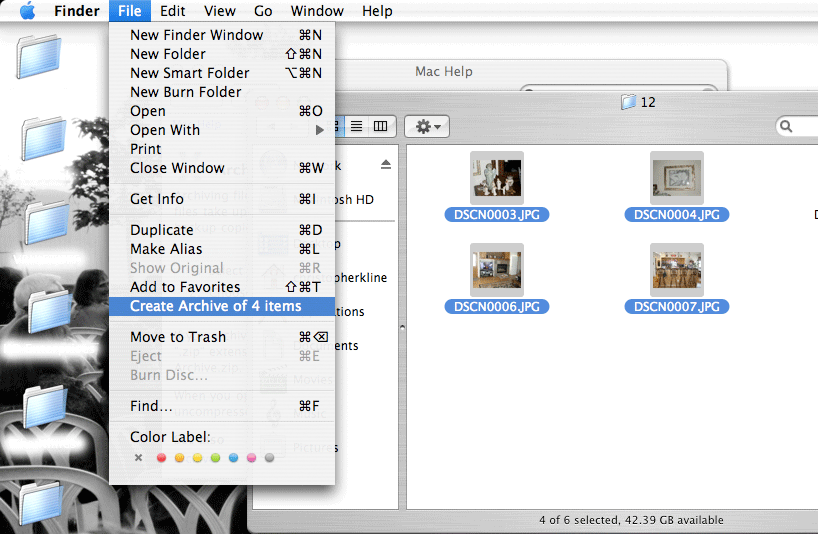
3. You can add additional files one at a time by holding down the Command key and clicking on files. In list view, you can select multiple files at once by holding the Shift key and clicking on the last file (everything between the first and last will be selected).
4. Once all files that are intended to be included in the .zip are selected, click on the File menu > Create Archive (or Compress). For multiple items, a file named Archive.zip will be created in the current folder.
Our Brands